
Nearly 9 out of 10 new hearing aid users admit to feeling anxious about setup and maintenance. Getting started with rechargeable hearing aids can seem confusing at first, especially with so many steps to follow. With the right approach, you can protect your investment, avoid common mistakes, and achieve the best results from day one. This guide walks you through every detail, making it easier to enjoy clearer sound and long-lasting hearing aid performance.
Table of Contents
- Step 1: Unpack And Check Your Hearing Aids
- Step 2: Charge Your Hearing Aids Fully
- Step 3: Fit And Adjust The Hearing Aids
- Step 4: Connect To The Smartphone App
- Step 5: Test And Fine-Tune Sound Settings
- Step 6: Clean And Store For Longevity
Quick Summary
| Key Point | Explanation |
|---|---|
| 1. Inspect hearing aids immediately | Carefully check for any physical damage and component completeness before use to ensure functionality. |
| 2. Fully charge before first use | Follow the recommended charging guidelines to maximize battery performance for longer usage. |
| 3. Fit hearing aids for comfort | Properly adjust your hearing aids for secure and comfortable positioning for optimal hearing performance. |
| 4. Connect to the smartphone app | Pair your hearing aids with the app to enable personalized adjustments and controls for better sound experience. |
| 5. Regularly clean and store devices | Maintain your hearing aids by cleaning them daily and protecting them from moisture to extend lifespan. |
![]()
Step 1: Unpack and Check Your Hearing Aids
Welcome to the first step in setting up your new rechargeable hearing aids. In this section, you will learn how to carefully unpack and inspect your devices to ensure everything is in perfect working order. According to the Royal United Hospitals NHS user guide, proper initial inspection is crucial for identifying any potential issues before you start using your hearing aids.
Begin by finding a clean, well-lit workspace with a soft surface like a table covered with a towel. This helps prevent accidental damage if you accidentally drop a device. Carefully open the packaging and remove each hearing aid, the charging station, and accompanying accessories. Check that you have received all expected components including the hearing aids, charging dock, power adapter, cleaning tool, and user manual. Inspect each hearing aid closely for any signs of physical damage such as cracks, scratches, or loose components. Run your fingers gently over the surface and ensure the battery contacts and microphone ports are clean and undamaged.
Pro Tip: When handling your new hearing aids, always wash and dry your hands first to prevent transferring oils or dirt onto the delicate devices.
If everything looks good, you are ready to move on to charging your hearing aids and preparing them for initial setup. Any signs of damage or missing components should be immediately reported to the manufacturer or seller for replacement or repair.
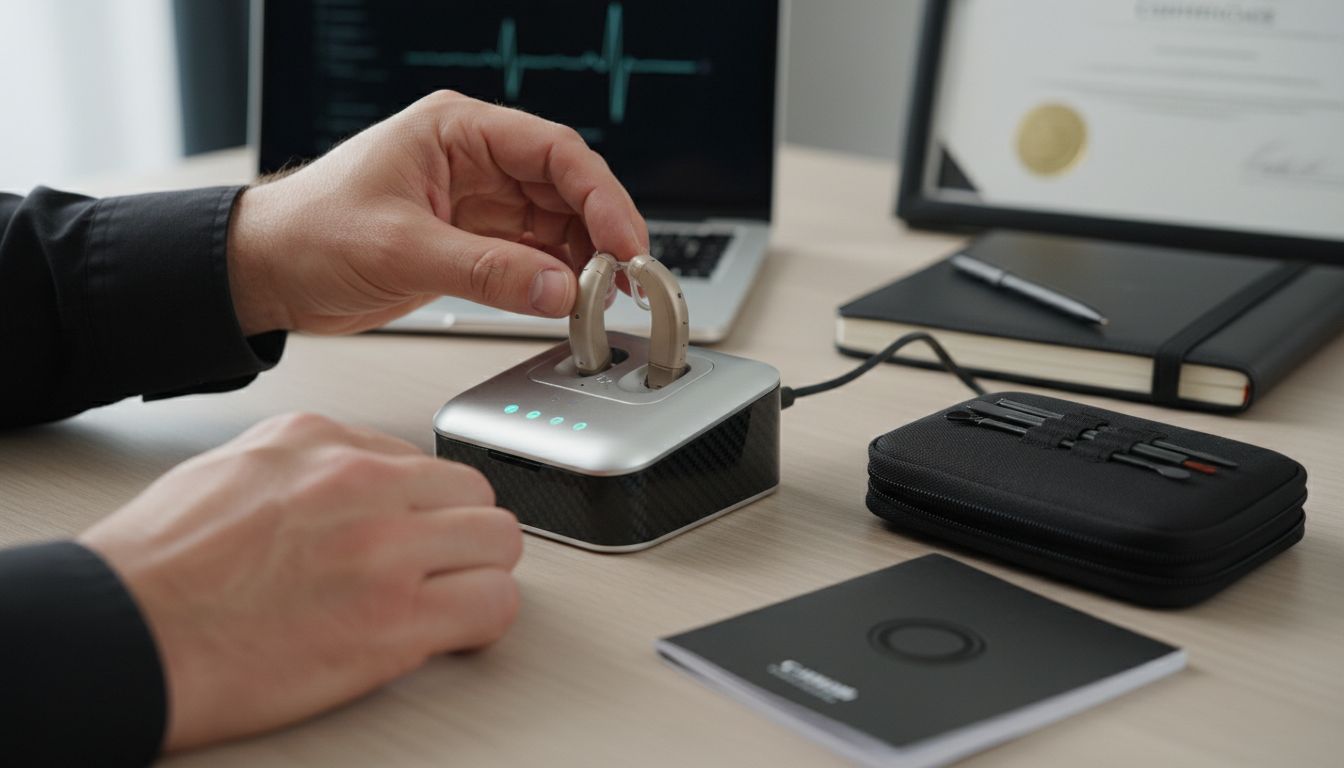
Step 2: Charge Your Hearing Aids Fully
Now that you have unpacked and inspected your hearing aids, it is time to charge them for the first use. According to the Royal United Hospitals NHS user guide, a full initial charge is recommended to ensure optimal battery performance. Locate the charging dock that came with your hearing aids and plug the power adapter into a nearby electrical outlet.
Place each hearing aid carefully into its designated charging port in the dock. Ensure the metal charging contacts on the hearing aids align perfectly with the corresponding contacts in the charger. Most modern rechargeable hearing aids have indicators that show the charging status through LED lights. Typically, a solid light means charging is in progress, while a blinking light might indicate a charging issue or low battery. The charging process usually takes around 3 hours to reach a full charge, but always refer to your specific device’s instructions for precise timing.
Pro Tip: Avoid charging your hearing aids in extreme temperatures. Room temperature provides the best environment for battery health and longevity.
Once fully charged, your hearing aids will be ready for initial setup and calibration.
 Audora Premium Cleaning Kit can help you maintain the devices in top condition after charging, ensuring they continue to perform optimally.
Step 3: Fit and Adjust the Hearing Aids
Now that your hearing aids are charged and ready, it is time to ensure they fit comfortably and securely. According to the Torbay and South Devon NHS Foundation Trust, proper insertion and adjustment are crucial for optimal hearing performance. Before beginning, wash your hands thoroughly to keep the devices clean and free from oils or dirt.
Start by identifying the right and left hearing aids. Most devices are colour coded or marked with small indicators. For behind the ear models, gently hold the hearing aid and place the curved part over the top of your ear. Slide the device down until the ear hook sits comfortably behind your ear and the speaker or tube fits snugly into your ear canal. The Cambridge University Hospitals recommend ensuring a secure fit where the hearing aid feels stable but not uncomfortably tight. Gently move your jaw and head to test the fit and make small adjustments as needed.
Pro Tip: If you wear glasses, put them on after inserting your hearing aids to prevent dislodging the device.
For the best experience with your new Audora Comfort Hearing Aids, take your time and be patient during the initial fitting. Everyone’s ears are different, so finding the perfect placement might take a few attempts.
Step 4: Connect to the Smartphone App
With your hearing aids fitted correctly, it is time to unlock their full potential by connecting them to the smartphone app. According to the Royal United Hospitals NHS user guide, smartphone connectivity allows for personalized adjustments and convenient remote control features. Before starting, ensure your smartphone has Bluetooth enabled and is within close proximity to your hearing aids.
Begin by downloading the official hearing aid app from your smartphone’s app store. Open the app and follow the on-screen instructions for device pairing. Typically, this involves putting your hearing aids into pairing mode by turning them off and on again or pressing a specific button combination. The app will guide you through searching for and selecting your specific hearing aid model. Once detected, confirm the pairing request on both your smartphone and hearing aids. This process allows you to access advanced features like volume control, sound environment presets, and battery status monitoring.
Pro Tip: Keep your smartphone app updated to ensure you have access to the latest features and performance improvements.
With the Audora Comfort Hearing Aids now connected to your smartphone, you can enjoy a more personalised hearing experience tailored to your specific needs.
Step 5: Test and Fine-Tune Sound Settings
Now that your hearing aids are connected to the smartphone app, it is time to personalise your listening experience. According to the Royal United Hospitals NHS user guide, tailoring volume and program settings is crucial for optimal hearing performance. Begin by finding a quiet space where you can focus on adjusting your device without external distractions.
Start by exploring the different sound environment presets available in your smartphone app. Most modern hearing aids offer multiple modes such as quiet room, restaurant, outdoor, and music settings. Experiment with these profiles in various real-world scenarios to understand how they modify sound quality. Gradually adjust the volume using the app controls, making small incremental changes. Listen carefully to how these adjustments impact your hearing clarity. Pay special attention to speech understanding, background noise reduction, and overall comfort. If certain frequencies feel uncomfortable or unclear, use the app’s fine-tuning features to make precise adjustments.
Pro Tip: Test your hearing aids in multiple environments like home, workplace, and social settings to ensure optimal performance across different soundscapes.
For the most precise customisation, consider the Audora Comfort Hearing Aids which offer advanced sound personalisation options through their intuitive smartphone application.
Step 6: Clean and Store for Longevity
Maintaining your hearing aids is essential for ensuring their performance and extending their lifespan. According to the Torbay and South Devon NHS Foundation Trust, regular cleaning is crucial for preserving device functionality. Begin by gathering a soft dry cloth, cleaning brush, and any specialized cleaning tools that came with your hearing aids.
Carefully remove earwax and debris from the device using the provided cleaning brush. The Cambridge University Hospitals recommend gently cleaning the microphone and speaker ports with a soft brush to prevent blockages. When not in use, store your hearing aids in a dry protective case away from direct sunlight and moisture. Always remove the batteries or place the device in its charging dock to maintain battery health. Avoid storing the devices in bathrooms or areas with high humidity, as moisture can damage the sensitive electronic components.
Pro Tip: Clean your hearing aids every evening and store them in a cool dry place to prevent moisture damage and maintain optimal performance.
To keep your devices in top condition, consider the Audora Premium Cleaning Kit which provides all the tools you need for proper maintenance and care.
Discover Easy, Affordable Hearing Solutions at Audora
Setting up rechargeable hearing aids can sometimes feel overwhelming, with challenges like ensuring a perfect fit, maintaining battery health, and syncing with smartphone apps for personalised control. If you want a hassle-free way to enjoy clear sound without lengthy clinic visits or expensive fees, you are not alone. Many people seek reliable devices that offer comfort, convenience, and advanced features all in one.

Take control of your hearing journey today by exploring the Home page – Audora where we offer UKCA-certified, AI-powered hearing aids designed for easy setup and use. Our rechargeable hearing aids come with smartphone app compatibility, invisible designs and unmatched value. Visit GetAudora.co.uk now for detailed guides, special offers and full support. Make the first step to better hearing that fits your lifestyle and budget.
Frequently Asked Questions
How do I unpack and check my new rechargeable hearing aids?
Start by finding a clean, well-lit workspace and gently open the packaging to inspect each hearing aid and its accessories. Check for any signs of damage and ensure that all components are present before proceeding to setup.
What is the recommended process for charging my hearing aids for the first time?
To charge your hearing aids, plug the power adapter into an outlet and place each hearing aid in its designated charging port in the dock. Allow the hearing aids to charge for approximately 3 hours for optimal performance before first use.
How should I fit and adjust my hearing aids for comfort?
Identify the right and left hearing aids, then position each device comfortably over your ears, ensuring the speaker fits snugly in your ear canal. Adjust as necessary while making sure they remain secure without feeling overly tight.
How can I connect my hearing aids to the smartphone app?
Enable Bluetooth on your smartphone, download the official hearing aid app, and follow the on-screen instructions to pair your hearing aids. This will allow you to access features like volume control and sound environment presets.
What steps should I take to test and fine-tune the sound settings in my hearing aids?
Once connected to the app, experiment with different sound environment presets and adjust the volume to find what works best in various settings. Make small adjustments and listen carefully, refining the settings to enhance your listening experience.
How do I clean and maintain my hearing aids for longevity?
Clean your hearing aids daily with a soft, dry cloth and remove debris using the provided cleaning tools. Store them in a dry, protective case and avoid moisture to help extend their lifespan and ensure optimal performance.